AI image generation has evolved from a novelty into a professional creative tool. Whether you're designing marketing materials, creating social media content, or building visual concepts, an AI image generator can produce polished results in seconds — and with a little craft, results good enough to ship. This guide walks through how the models differ, how to write prompts that actually work, and the practical workflows that turn one good idea into a finished asset.
Which AI image model should you use?
Not all image models are created equal. Each has strengths suited to different use cases, and picking the right one for the job is the single biggest lever on your output.
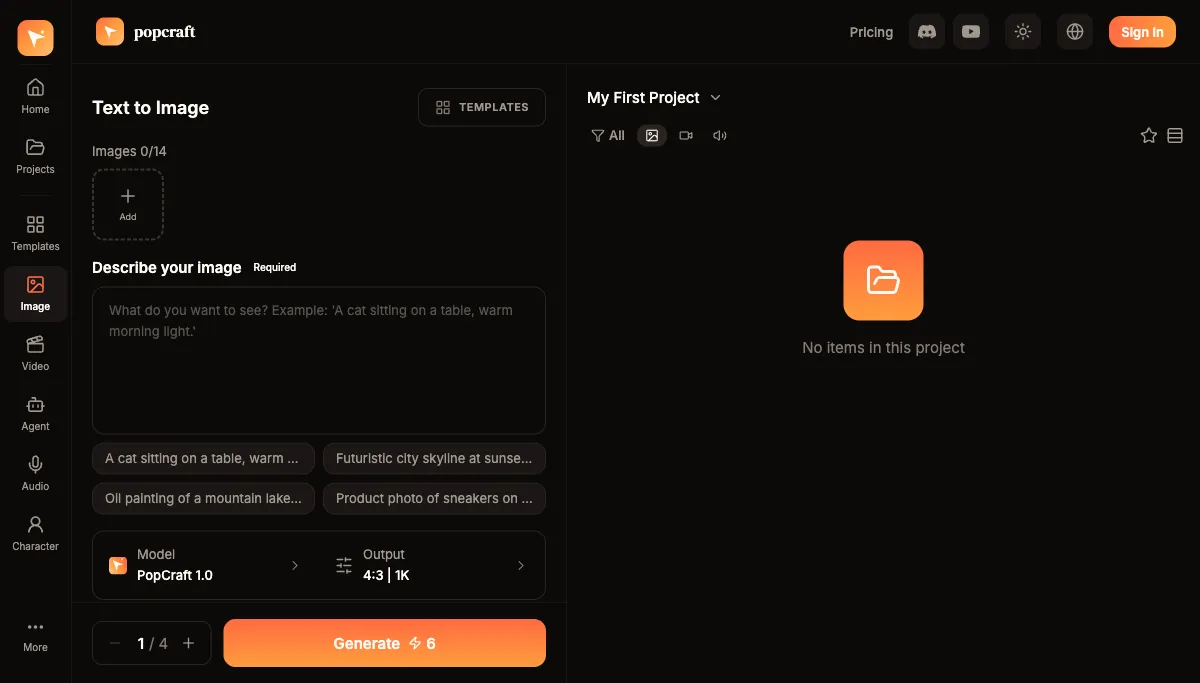
- Nano Banana 2 — Fast generation with excellent quality. This is the model to learn on: it returns images quickly enough that you can run five or six variations of a prompt in the time it takes to refill your coffee, which is exactly how you build prompt intuition. Use it for social-ready images, idea exploration, and any time iteration speed matters more than absolute detail.
- Nano Banana Pro — Enhanced quality with more creative control. It holds onto fine detail and follows complex prompts more faithfully, so it's the natural step up once you've nailed the composition on the fast model and want a cleaner final render.
- Seedream — High-fidelity outputs with exceptional detail. Reach for it when the image is going somewhere demanding — a product hero shot, a print piece, a campaign visual where texture and realism carry the work.
How should you choose between them?
A simple decision rule covers most situations. Explore on the fast model, finish on the detailed one. Start with Nano Banana 2 to settle the concept, framing, lighting, and mood across many cheap attempts. Once a variation is clearly working, re-run that same prompt on Nano Banana Pro or Seedream for the final, higher-fidelity version. You get the speed of rapid iteration without paying for detail you'll throw away. For purely casual or internal images, the fast model is often all you need end to end.
What makes a good AI image prompt?
The quality of your output depends heavily on your prompt. Vague prompts force the model to guess; specific prompts let it execute. Here are the fundamentals, with the reasoning behind each.
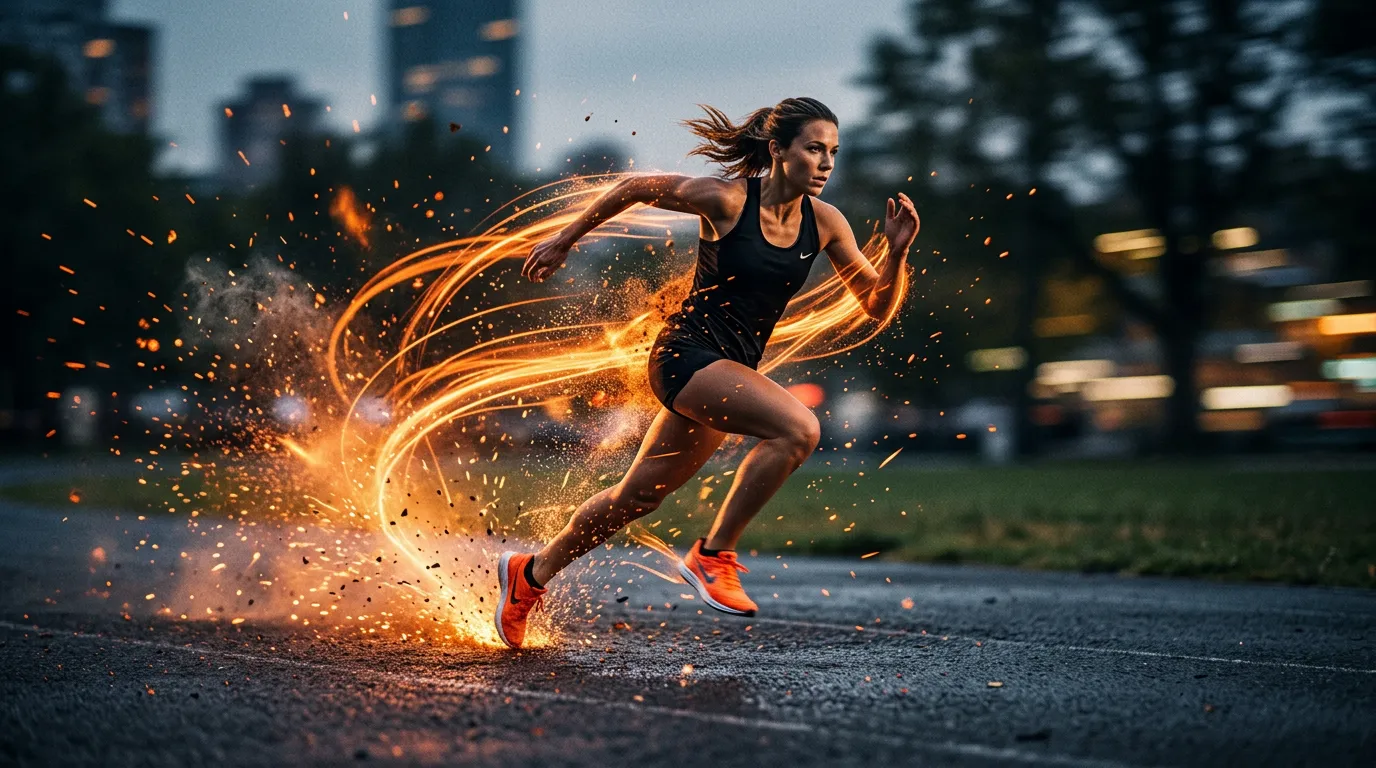
Be specific about style. Instead of "a beautiful sunset," try "a cinematic sunset over a coastal city, golden-hour lighting, warm orange and purple tones, shot on 35mm film." The first version could resolve a thousand different ways; the second tells the model the medium, the time of day, the palette, and the look. The more visual direction you give, the less the model has to invent — and the closer the result lands to what's in your head.
Order matters — lead with the subject. Many image models tend to weight earlier words more heavily, so the first thing you name is the thing the image is most "about." Put your subject first, then layer the environment, lighting, and technical details after it.
Include technical details. Borrowing the vocabulary of photographers and cinematographers gives you precise control. Camera language like "wide-angle lens," "shallow depth of field," or "soft natural lighting" steers the look in ways plain description can't. "Studio lighting with a softbox" reads as clean and commercial; "dramatic rim lighting" reads as moody and editorial. You're effectively art-directing the shot.
Use reference images. Most models on the platform accept a reference image, and it's one of the most underused features. Upload an existing photo, a brand asset, or a rough sketch as a starting point and the AI builds on that foundation while following your text prompt. It's the fastest way to control composition or carry a consistent style across a set of images — describe what you want in words, and anchor it visually.
Write negative prompts. Tell the model what to leave out: "no text, no watermarks, no distorted hands." Negative prompts are the cleanup crew for recurring artifacts, and a few well-chosen exclusions often do more for a flawed image than another paragraph of description.
Practical workflows
The right model and a solid prompt get you most of the way. These repeatable workflows turn that into finished work.
How do you create social media images fast?
- Lead the prompt with your brand's color palette and a clear subject so every variation stays on-brand.
- Generate several variations quickly on the fast model — batch generation lets you produce a spread in one pass.
- Pick the strongest result and refine it with a follow-up prompt, adjusting only what's not working.
- Switch the aspect ratio to match the platform — square, vertical, or wide — and export.
How do you make product images that sell?
- Upload your product photo as a reference so the AI preserves the real item.
- Describe the setting or lifestyle context you want it placed in — "on a sunlit marble countertop," "in a minimalist studio with soft shadows."
- Generate product-in-context images, then use the face/character and product-swap features or upscaling to clean up the final frame.
- Use batch generation to cover multiple angles, backgrounds, or seasonal settings from the same base.
This is where dedicated product-photography support pays off: instead of a studio shoot, you restyle one packshot into an entire catalog of contexts.
How do you build a consistent brand asset set?
- Define your visual identity once — colors, style, mood — and keep that block as a reusable prompt prefix.
- Generate logo concepts, illustrations, backgrounds, or pattern art against that fixed identity.
- Iterate with targeted refinements rather than rewriting the whole prompt each time.
- Upscale the winners and export in multiple sizes for web, social, and print.
Tips for better results
A few habits separate people who fight the model from people who direct it.
- Iterate quickly. Treat early generations as sketches. Generate many, keep the best two or three, and refine from there.
- Use negative prompts deliberately. Knock out the specific artifacts you keep seeing rather than re-rolling and hoping.
- Experiment with aspect ratios. A composition that feels cramped in square often breathes in widescreen; portraits favor vertical. The available ratios change the framing decisions the model makes, not just the crop.
- Combine models. Explore on Nano Banana 2, finish on Nano Banana Pro or Seedream. The two-stage habit is worth building early.
- Save your best prompts. Maintain a personal library of prompt prefixes and full prompts that reliably produce your style. Over time this becomes a creative asset of its own — your house look, written down.
Start creating
The best way to learn is by generating. You can start free with 100 credits and no card, which is enough to test all three models against the same prompt and feel the differences for yourself. Images you create can be used commercially, so the work you do while learning is work you can actually ship. Begin with a simple subject, run it on the fast model, and let the iteration teach you the rest.