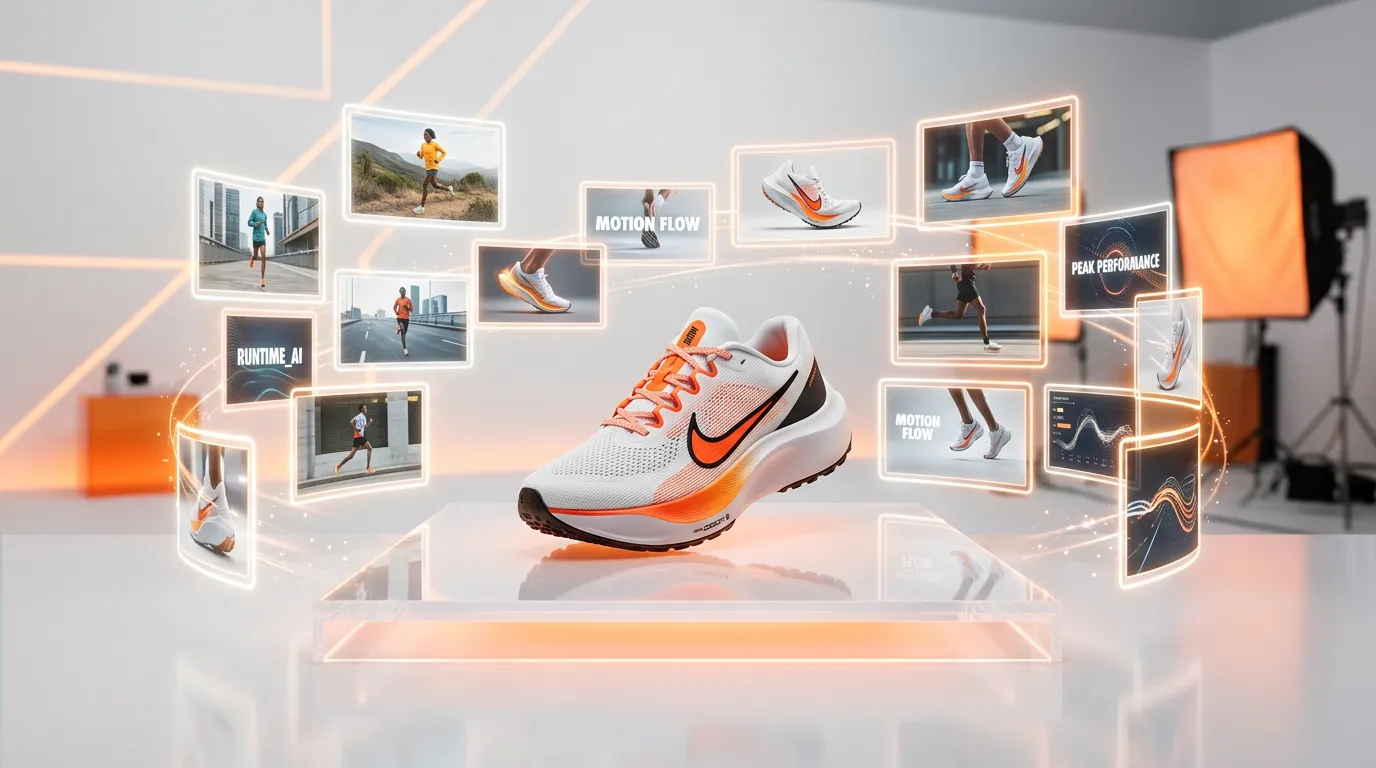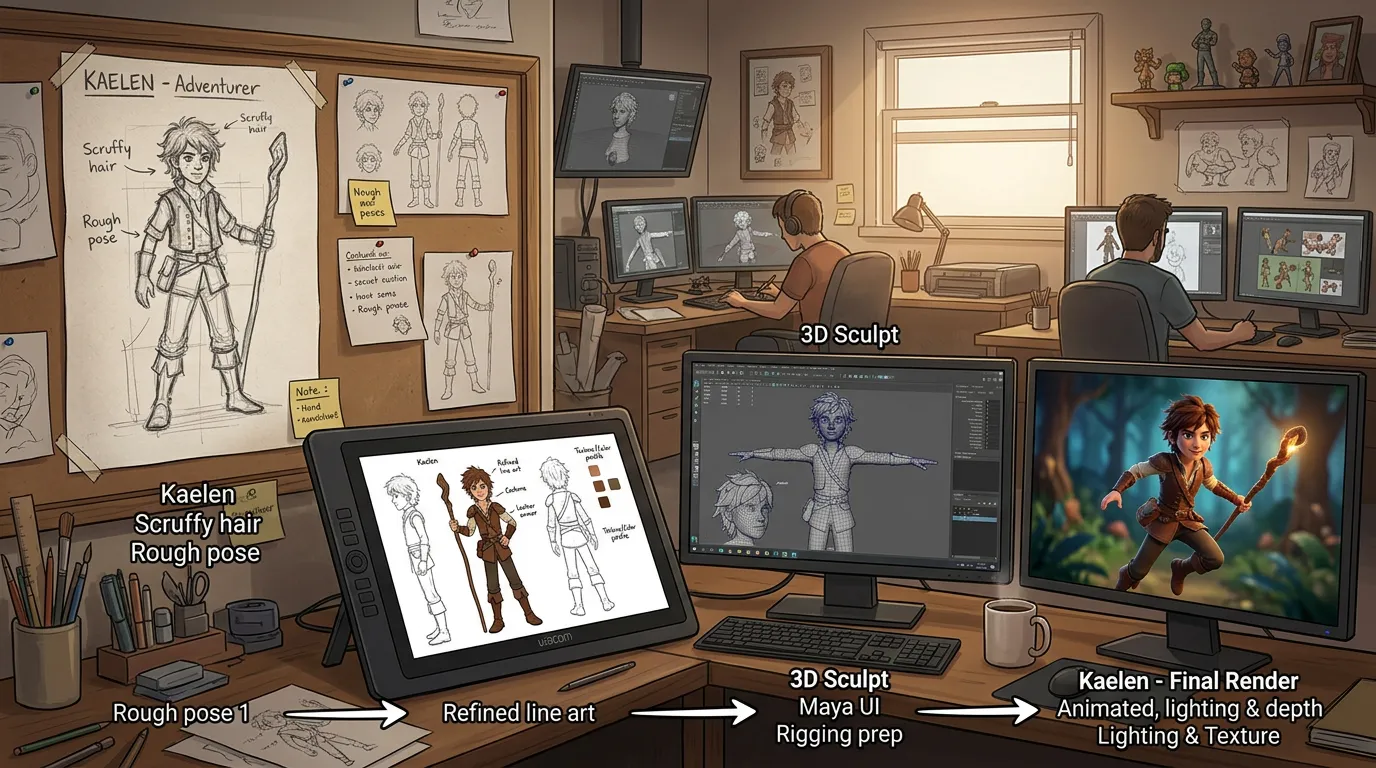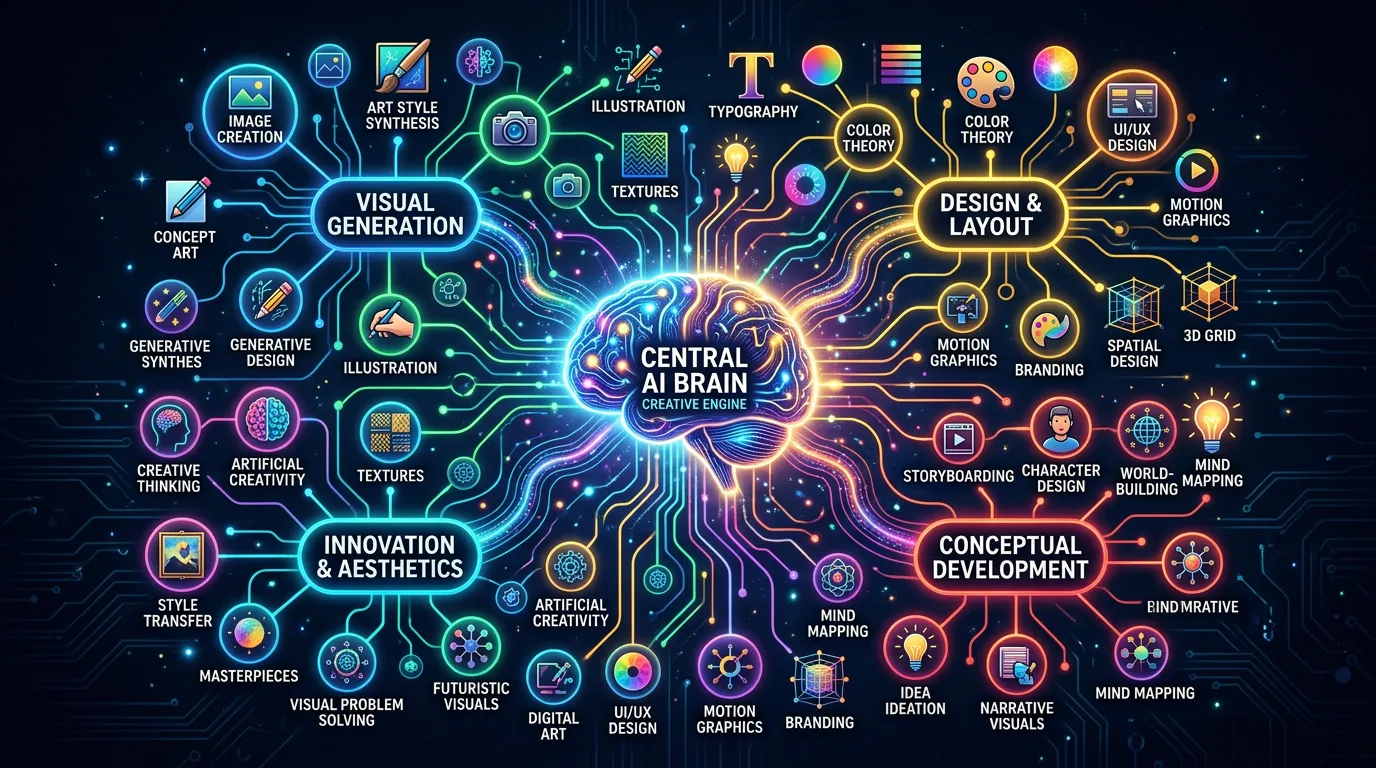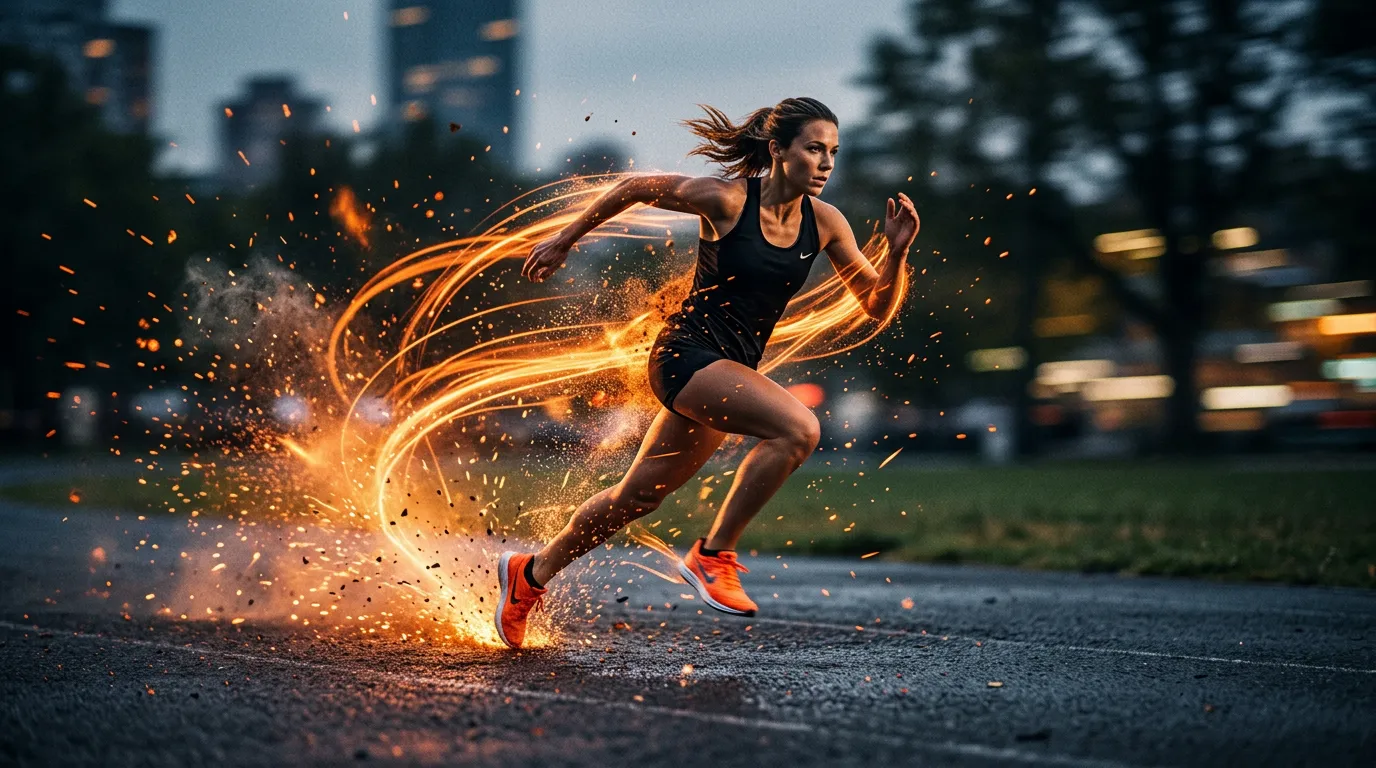
You have a beautiful product photo. A stunning landscape shot. A perfectly designed graphic. Now imagine bringing it to life — adding motion, depth, and dimension. Reference-to-video AI makes this possible from a single image.
What is Reference-to-Video?
Reference-to-video takes a still image as input and generates a video that brings that image to life. The AI preserves the original composition, colors, and elements while adding natural motion, camera movement, and environmental effects.
Think of it as the "living photo" from science fiction — except it's real, and it's available now. The practical advantage is that you start from a look you already control: your brand photography, a product render, or an approved graphic becomes the foundation, so the result stays on-brand instead of drifting the way a from-scratch text prompt can.
How does reference-to-video work?
The Input
Your reference image sets the foundation. The AI analyzes:
- Subject matter and composition
- Lighting and color palette
- Depth and spatial relationships
- Object types and expected physics
The Motion Prompt
You describe how the image should come to life:
- "Slow zoom in with gentle wind in the hair"
- "Camera orbits around the product with soft lighting"
- "Waves begin to move, clouds drift across the sky"
- "The character turns toward the camera and smiles"
The Output
A smooth, natural-looking video clip that faithfully represents the original image while adding the described motion.
How long are reference-to-video clips?
Reference-to-video clips are typically short — on Seedance 2.0, which specializes in reference-to-video, clips run roughly 4–15 seconds. Short durations are a feature, not a limit: they keep motion coherent and physics believable. For a longer piece, generate several clips from the same image with different motions and edit them together in the timeline.
Seedance 2.0 also offers first- and last-frame conditioning, so you can lock the exact frame a clip starts on and the frame it ends on, then let the model fill the motion in between. That's especially useful for product turntables and reveals where the final pose matters.
What kind of motion can you add?
Two broad categories, and the trick is matching them to the subject:
- Camera motion — push-in zoom, slow orbit, turntable rotation, gentle pan. Start here; camera moves are the most reliable and read as polished even on simple images.
- Subject motion — wind in hair, water flow, drifting clouds, a smile, a blink, fabric ripple. Add these once the camera move looks right.
Physics should follow the subject: water should flow, fabric should drape, hair should move naturally. A motion prompt that fights the image — asking a rigid object to ripple, say — produces the unnatural results people associate with early AI video.
Best Results by Image Type
Product Photography
Best motion: Slow orbit, push-in zoom, turntable rotation. Tips: Clean backgrounds work best. White or gradient backgrounds produce predictable results. Add subtle lighting shifts for realism, and use last-frame conditioning if you need the clip to settle on a specific hero pose.
Portraits
Best motion: Subtle head movement, blink, smile, hair movement. Tips: High-resolution face images with clear features produce the most realistic results. Avoid extreme expressions as starting points — a neutral or soft starting frame gives the motion somewhere to go.
Landscapes & Scenes
Best motion: Cloud movement, water flow, wind effects, time-of-day shifts. Tips: Landscapes with clear depth separation (distinct foreground and background) create the most dramatic videos, because the AI has real spatial layers to move through.
Graphics & Illustrations
Best motion: Parallax effect, element reveals, subtle animations. Tips: Layered compositions with clear foreground/background elements animate most naturally. Flat, single-layer graphics have less for the model to work with.
A step-by-step first run
- Pick your strongest image. Higher resolution and clear depth separation give the model more to work with.
- Choose the destination format — 9:16 for vertical feeds, 1:1 for in-feed, 16:9 for landscape, 21:9 for cinematic widescreen. Seedance 2.0 supports all of these.
- Write a camera-only motion prompt first ("slow push-in, soft lighting") and generate. Confirm the look holds before adding complexity.
- Add subject motion matched to the subject, and regenerate.
- Generate a few variations. Small wording changes shift the result, so keep the strongest take.
- Chain and finish. Combine clips, then add AI-generated music or voiceover on a multi-track timeline to complete the piece.
Why does reference-to-video keep things on-brand?
A text-to-video prompt asks the model to invent the look from scratch — your exact product color, label, logo placement, and proportions are all left to interpretation, and they tend to drift. Reference-to-video sidesteps that. The image is the look, fixed; the prompt only adds movement. For commercial work this is the difference between "a headphone that resembles ours" and "our actual headphone, now rotating." It's why product teams reach for reference-to-video over pure text-to-video when the asset has to be recognizable.
This also makes existing libraries far more valuable. A back catalog of product photography, approved key visuals, and finished graphics becomes a source of video clips rather than a set of stills you'd otherwise rebuild. You're not generating new creative that legal and brand have to re-approve — you're animating creative they already signed off on.
Creative Applications
Social Media Posts — Transform your best static posts into video content that holds attention longer in the feed.
Product Launches — Create dramatic reveal videos from product renders, with cinematic camera moves that showcase design details.
Portfolio & Showcase — Bring artwork, photography, and design work to life for portfolio presentations and case studies.
Advertising — Generate video ads from existing creative assets. Turn banner designs, product photos, and brand imagery into video without starting from scratch.
Pro Tips
- Higher-quality inputs = better outputs — start with your best, highest-resolution images.
- Simple motions first — get the camera movement right before adding subject motion.
- Match physics to subject — water flows, fabric drapes, hair moves; don't ask an object to do something it physically wouldn't.
- Use frame conditioning for precision — set the first and/or last frame when the start or end pose matters.
- Chain clips — generate multiple clips from the same image with different motions and edit them together.
- Combine with audio — add AI-generated music or voiceover to finish the experience.
Reference-to-video runs on Popcraft's video generator, free to start with 100 credits and no card required, and the content you generate can be used commercially. For longer, fully produced pieces, an AI Video Agent can take a brief through script, visuals, audio, and timeline assembly automatically.